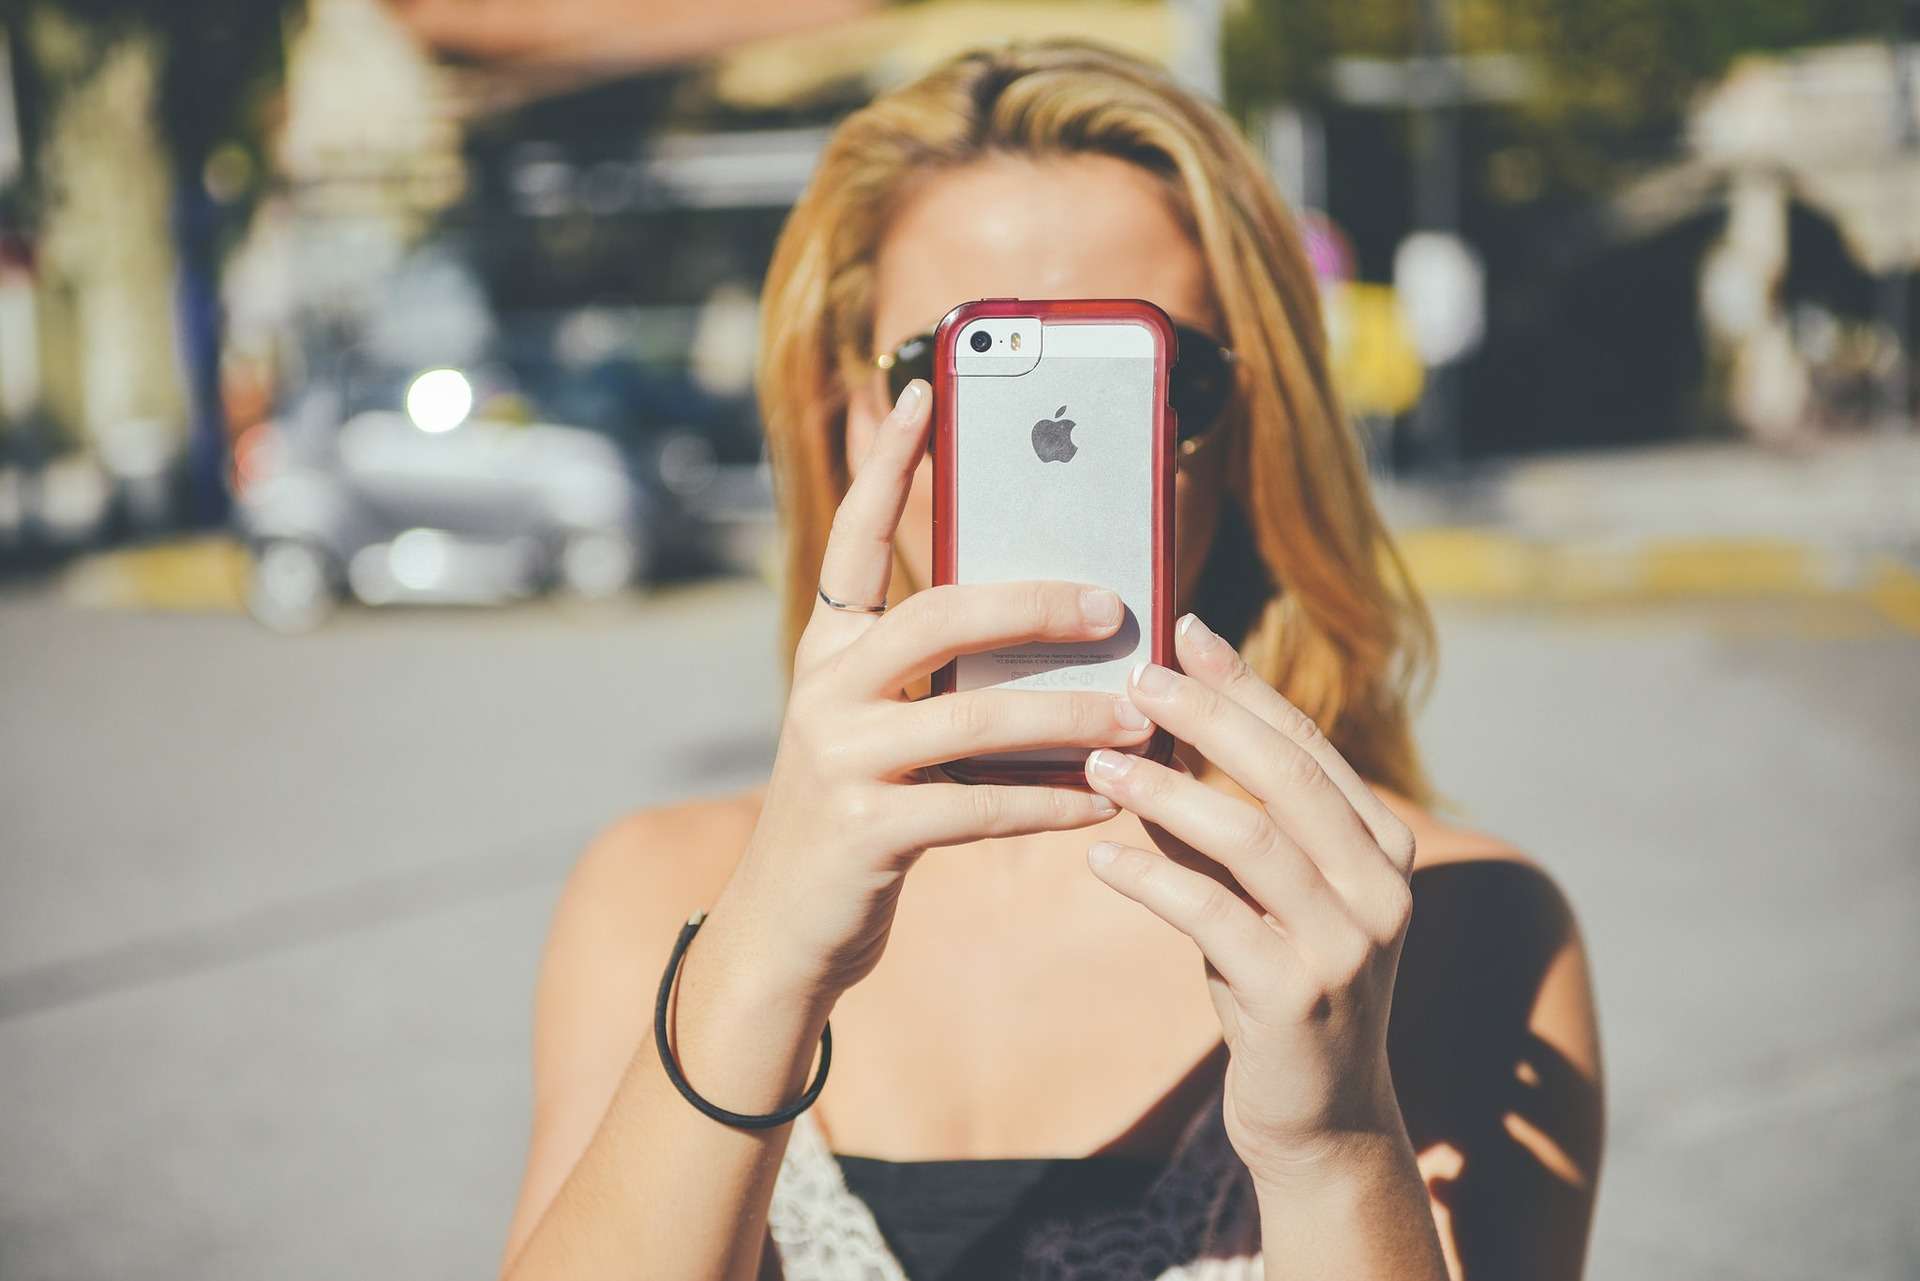
IPhone : 6 Tips To Always Make A Perfect Selfie With Your iPhone
Taking Strong Pictures
Did you know the iPhone in your pocket has more computational ability than all of NASA during the Apollo missions? That’s the level of exponentiation that has enabled today’s increased technological capability. Yet with all that IT horsepower, sometimes it can still be hard to get a good photo.
Maybe you’re dealing with storage issues with the device, maybe you’ve got some lighting problems, perhaps there are motion issues either in the foreground or background of the picture. Plenty of issues can develop out of nowhere that ultimately ends up impacting the quality of your selfies.
There is something of an art to taking the perfect selfie. With smartphones, you’ve got the opportunity to practice until you get it just right. Hopefully, though, you can get into a sort of photographic “rhythm” where you get solid pictures without having to spend deep time on them. With that in mind, to help you out, the following are some tips.

Assure You’ve Got Enough Space
You can get an iPhone with a little over half a terabyte of storage space. Certainly, that sounds like a lot, but it really isn’t. Five minutes of “film” is a gigabyte, approximately—depending on your settings. So 512 gigabytes is 42:40+ hours of footage.
You can’t quite judge your space by total device capacity, though. There are operating systems that take up a few gigs, apps, protocols, updates, and other things taking up storage. Pictures tend to be a few hundred kilobytes to around 10 MB per photo, again depending on photos and associated settings.
So a hundred high-quality photos could be a gigabyte. If you’re down to only a gigabyte of space, or half a gigabyte, that’s going to reduce how many pictures you could potentially take. That means if you’ve got a bunch you need to capture, your best move will be to delete some spurious photographs. You’ll almost always have a few pocket portraits you don’t need.
- Take As Many Pictures As Possible
Next, you want to get proper “coverage”. Free up at least ten gigs of space; that will give you a little opportunity for some short videos as well. From there, take a hundred pictures if you can. You can snap off ten in a matter of seconds. The more pictures you take, the better they are likely to be. If you don’t have space, you’ll be limited. - Use A Selfie Editor
Sometimes it doesn’t matter how many photos you take, or how much space you have, or how careful you are to properly position each item of each photo, you’re still going to have visual issues. Maybe there’s some sort of flash that washes out the picture, or there are reflections of your iPhone’s flash in the eyes of those you photograph.
Well, you don’t necessarily have to throw out those photos. You can instead use a software solution like this iPhone selfie editor. It can help you fix little issues that would otherwise disqualify a photo from being shared.
- In Low Light Or Shadows, Activate The Flash
Often you’re trying to take a picture of something and a shadow gets in the way. Simply activating the flash can fix the issue. You can have it on with all photos, or come on automatically based on lighting conditions, or just turn it on at your discretion. Whatever the case, having the flash on can do much to get rid of unwanted visual obstructions.
- Don’t Get Too Fancy With It
The more complicated the pictures you try to take, the harder capturing the photos you intend to will be. Accordingly, you want to be careful not to “bite off more than you can chew”, as the saying goes, when you’re capturing pictures. The more you take pictures, the better you’ll get at it. Work up to complex photography, don’t just dive in without being able to “swim”, as it were. - Silhouette Photos Are Downright Excellent
This list of tips has some sage advice on how to do silhouette photos. Essentially, you want light strong enough to outline a shape. Owing to the iPhone design, you can get some substantially worthwhile photos this way. For a snazzy result, try getting those silhouette photos. It’s a pretty simple move that looks very professional.
Maximizing The Potential Of Your Apple Device
Silhouettes, photography tactics that aren’t too complicated, flash activation, utilizing selfie editors, taking as many photos as you can, and properly apportioning space on devices; are tips that can really help you up to your iPhone photography game. Lastly, have fun. The more you’re enjoying yourself, the better you’ll be able to get the best pictures.
